Dorel Home Furnishings DA6312E Manuel du propriétaire
Naviguer en ligne ou télécharger Manuel du propriétaire pour Non Dorel Home Furnishings DA6312E. Dorel Home Furnishings DA6312E Owners manual [en] Manuel d'utilisatio
- Page / 11
- Table des matières
- MARQUE LIVRES
Résumé du contenu
CONTAINS IMPORTANT SAFETYINFORMATION. PLEASE READ ANDKEEP FOR FUTURE REFERENCE.Lot number:______________________________ Date of purchase:_______ / __
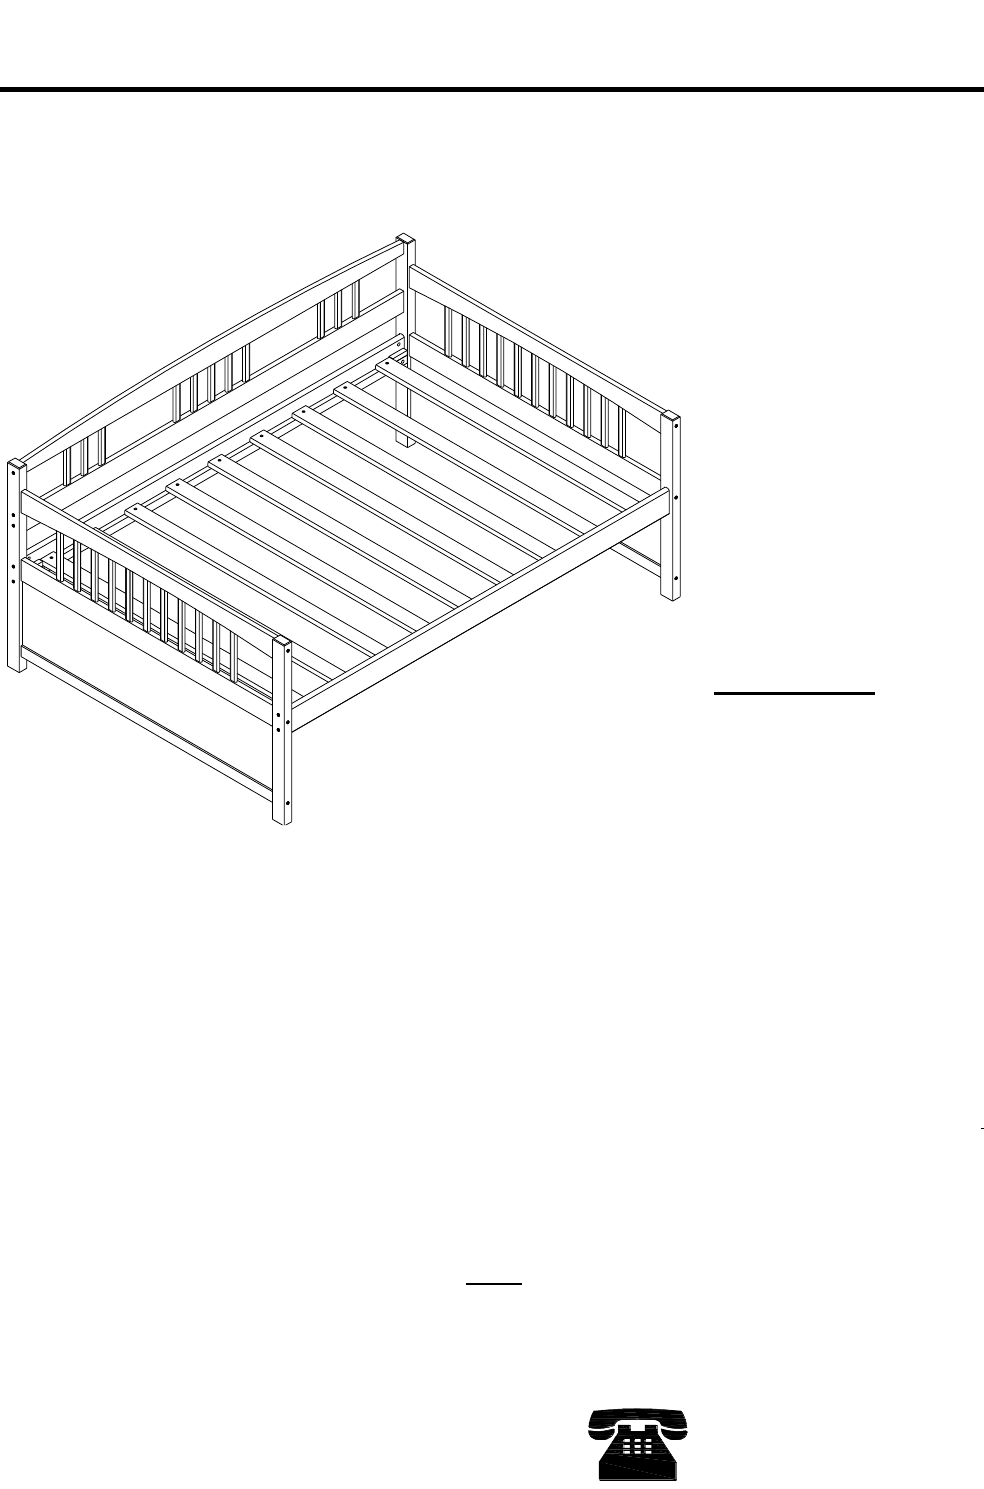
That's it ! You've finished assembling your Daybed.DAYBEDDA6312E CAUTION: This unit is intended for use only with the products and/o
MODEL #:DA6312EPLEASE DO NOT RETURN THIS PRODUCT TO THE STOREPLEASE CONTACT CUSTOMER SERVICE REPRESENTATIVES AT THE FOLLOWINGNUMBERS SHOULD THERE BE A
* Ensure all parts and components are present before beginning assembly.* Assemble on a soft, smooth surface to prevent damage to the product finish.*
HARDWARE LIST1 23 45 67STOPPERJOINT CONNECTOR (4mm HEX HEAD)DAYBEDDA6312E8 PCSBARREL NUT8 PCSWOOD JOINT CONNECTOR (4mm HEX HEAD)WOOD DOWEL33 PCS18 PCS
PARTS LISTA B CD E FLEFT BACK POSTFRONT / BACK RAILSLATRIGHT BACK POST1 PC9 PCSSPACE BLOCK2 PCS2 PCSDAYBEDDA6312E1 PCTOP RAIL1 PC
PARTS LISTG H IJ K LM N OBOTTOM RAIL1 PCLEFT FRONT POST11 PCS1 PCBACK FRAME SLATSIDE FRAME BOTTOM RAILSIDE FRAME TOP RAILDAYBEDDA6312E2 PCSSIDE FRAME
STEP 1Insert the side frame bottom panel (N) into the grooves of posts (A & L). Attach left back post (A) and left front post (L) to side frame to
DAYBEDDA6312ESTEP 2Insert wood dowels (4) into top/bottom rails (C & K) as shown. Attach top/bottom rails (C & K) to the left back post (A) wi
DAYBEDDA6312EInsert wood dowels (4) into top/bottom rails (C & K) as shown. Attach top/bottom rails (C & K) to the right back post (B) with wo
STEP 4Attach slats (E) to front/back rails (D) with flat head screws (5). Use space blocks (F) to space them out evenly. Tighten all flat head screws
Produits connexes et manuels pour Non Dorel Home Furnishings DA6312E
 (8 pages)
 (21 pages)
© 2020, manymanuals.fr. Tous droits réservés | 1.196 s |
 Manymanuals.com
 Manymanuals.de
 Manymanuals.fr
 Manymanuals.it
 Manymanuals.pl
 Manymanuals.cz
 Manymanuals.es
 Manymanuals-pt.com
Commentaires sur ces manuels